An industrial chiller repair service had been arranged to replace one of the compressors on System 1. Read on for a detailed insight into how we do things here at Maximus Chillers…
News Article No.28
During the last maintenance visit, the engineer in the photo had noticed all 3 of the 200 amp centred tag fuses had blown for one of the compressors. On investigation he found that there was a dead short to earth from the compressor windings. A Quote was submitted, an Order raised, then this was the return visit to carry out the job…
Decant during Industrial Chiller Repair Service
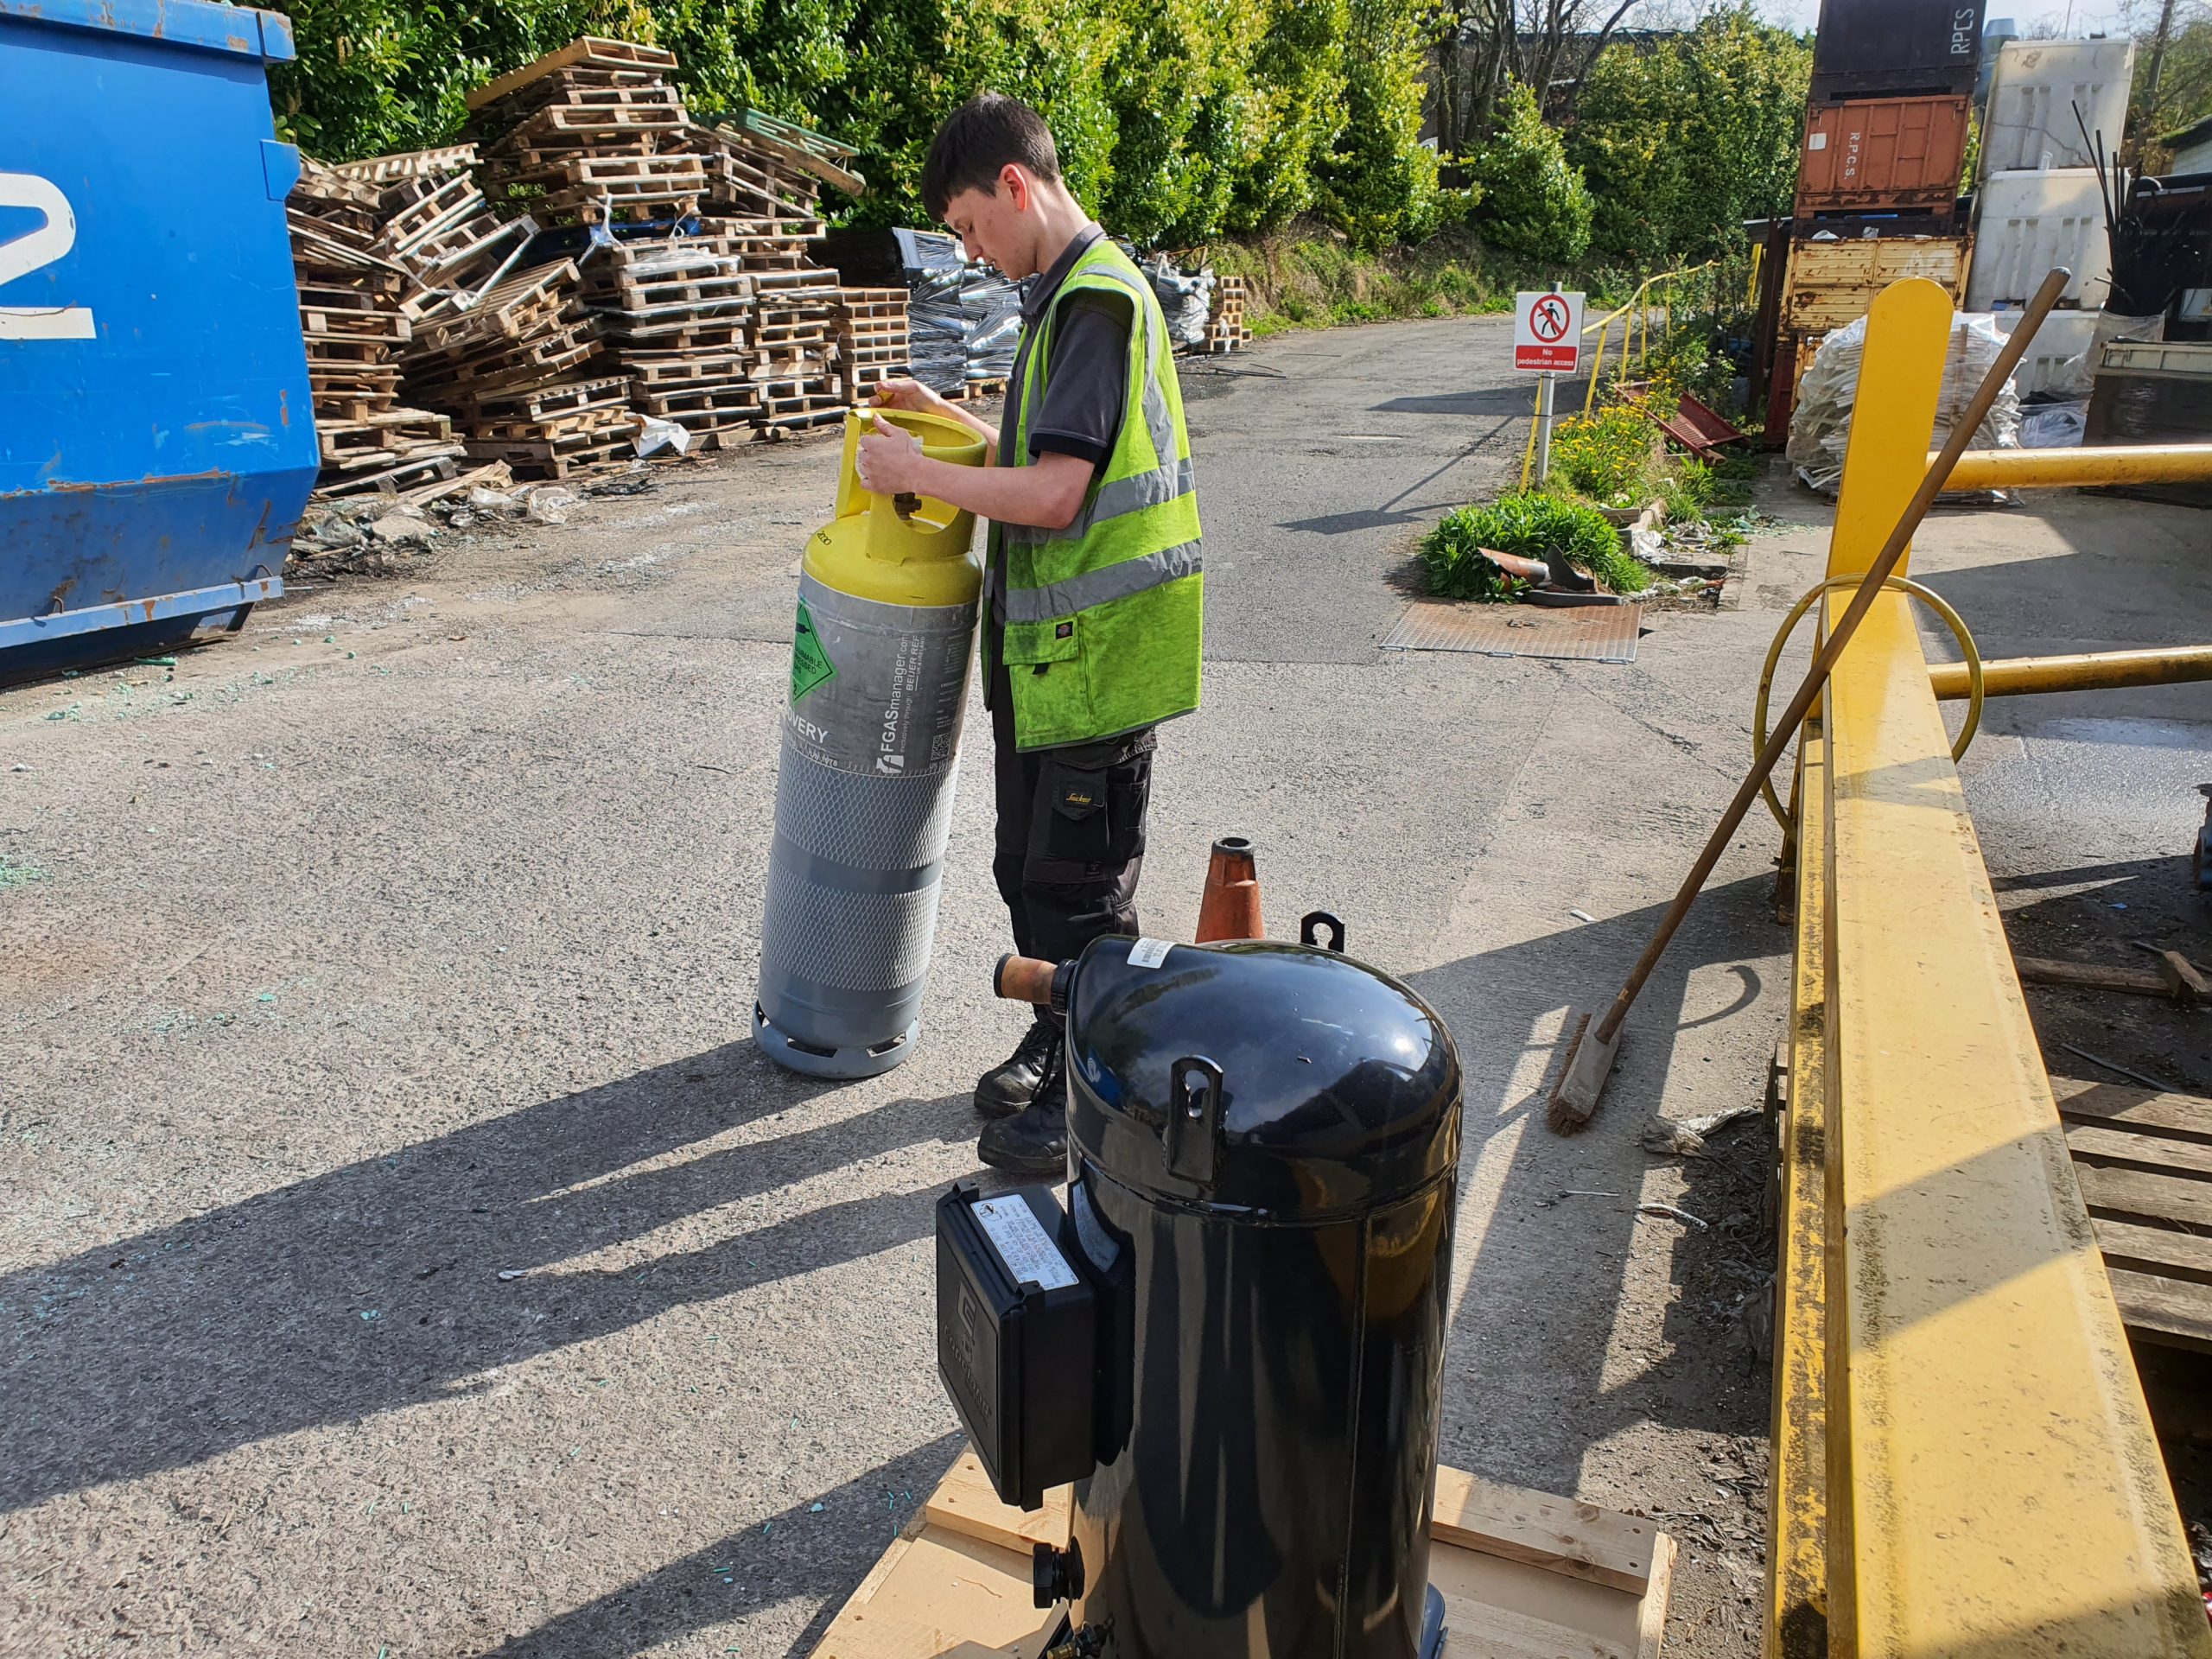
The refrigerant had to be decanted into the cylinder in the photo because the discharge shut off valve was passing. Once this operation had been carried out, the refrigerant cylinder was taken to the segregated storage area.
Oil Removal during Industrial Chiller Repair Service
Our engineer set up a drum for the recycling of the oil which was above the level of the oil equalizing pipe sight glass. He then used his equipment to remove the oil.
Compressor Removal during Industrial Chiller Repair Service
Electrical Wiring
The compressor motor connectors, the crank case heater and the motor protection module were disconnected. They were the put to one side to leave the compressor area clear.
Pipework
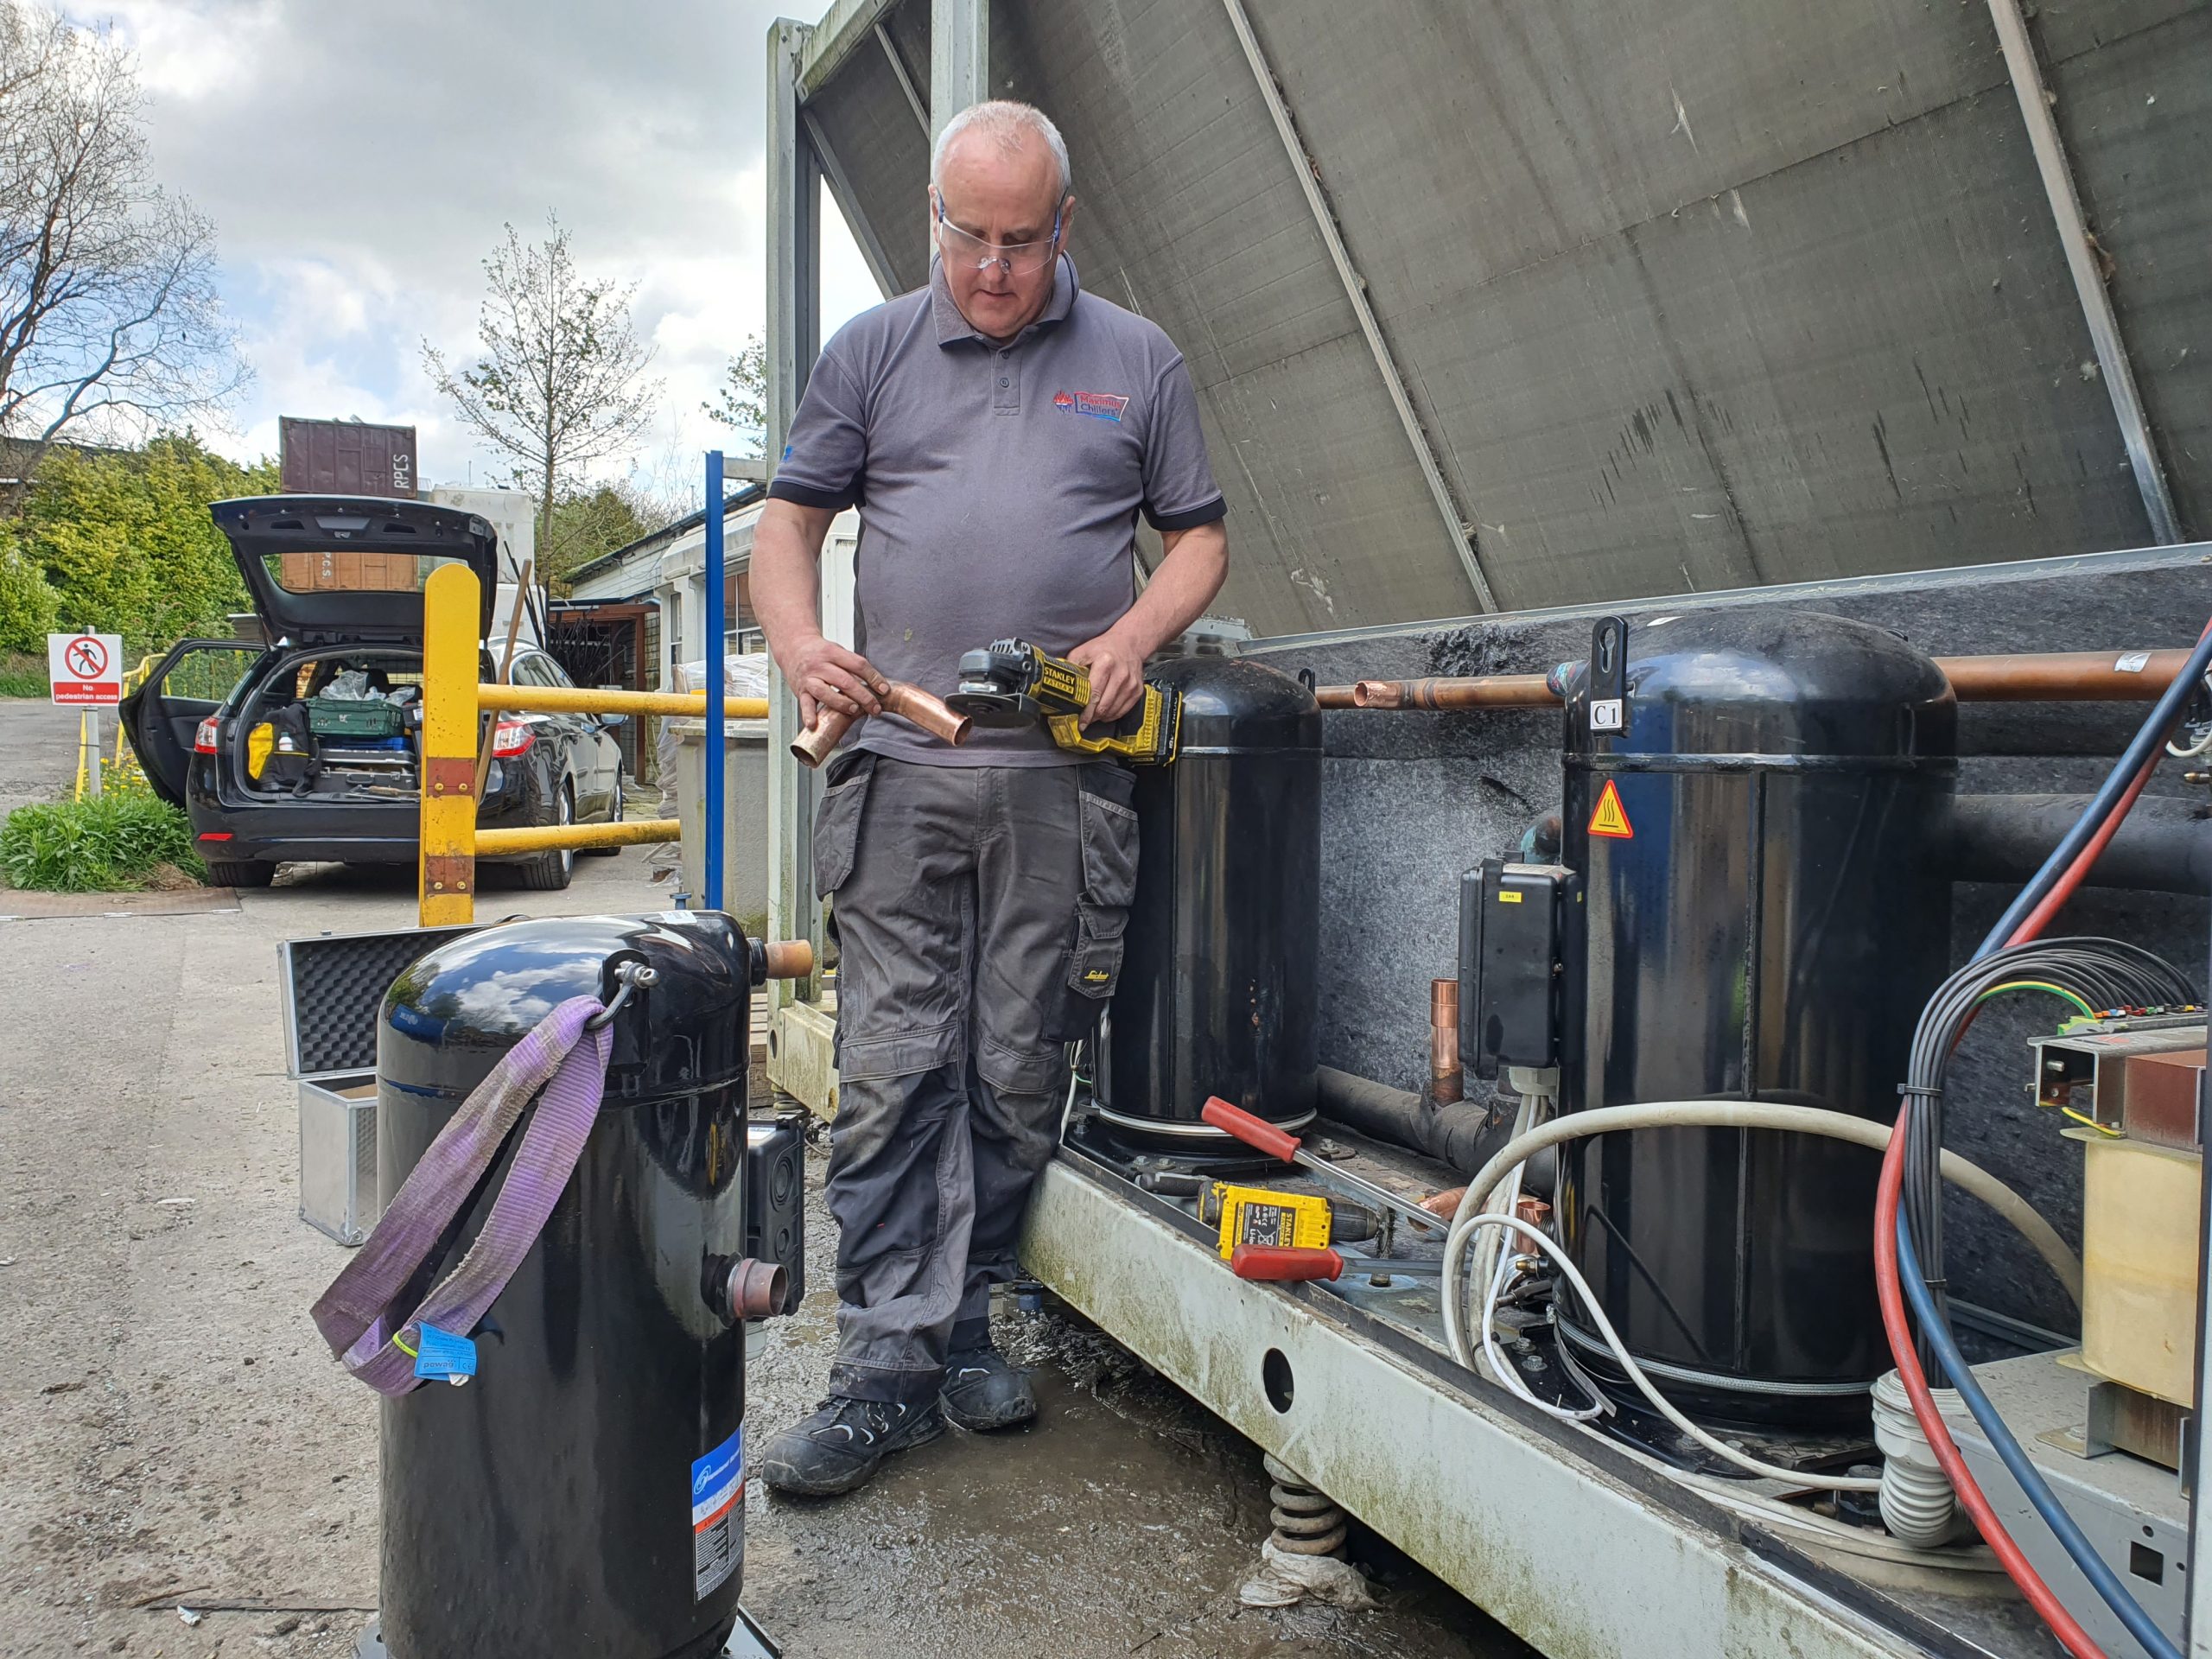
The discharge and the suction pipes were cut using our specialist tools which are carried in each vehicle. They were cut in a way so as to enable the easy lift out of the compressor.
Mounting Bolts
The compressor mounting bolts were then removed and set aside. The compressor was then ready for the lifting operation...
Lift and Shift
The yellow barrier in the photo was removed and set aside by the onsite engineers. Then, specialist lifting equipment was moved into place next to the compressor. ‘D’ shackles were used to attach to the lifting lugs on the compressor, then a sling was fitted between the ‘D’ shackles. The compressor was lifted out and taken to the metal recycling area.
0161 237 3727
service@maximuschillers.com

Compressor Refit during Industrial Chiller Repair Service
Now the reverse of the above: the new compressor was lifted into place and bolted down. Then, the oil equalising pipe was refitted.
Brazing
The permit to work was completed to allow for hot works and our copy of the paperwork was placed into a wallet on the side of the chiller.
Equipment Set Up and Health and Safety
The oxygen and acetylene cylinders were secured in an upright position in a location that was not in the way of an escape route. It was unlikely that there would be a safety incident because our equipment is of the highest quality, the best training is provided and our Risk Assessment Method Statement was adhered to. All of these things, taken together, are the reasons why an incident was unlikely. The regulators, flash back arresters, hoses and torch were then fitted and leak tested.
Pipework Preparation
Every time we carry out a brazing operation, we clean up the pipework so that it is as good as new. We remove all of the solder that remains on the pipework too. This is because leaks can occur around the compressor due to impurities getting into the soldering. The likelihood of leaks is compounded by the high pressures, temperatures and vibration of the compressor. We are succeeding at developing our brand of quality of service, so all of our workmanship is covered by a full, no quibble guarantee.
Light Up and Braze In
Our engineer lit the torch up and commenced the brazing operation. One of the brazes in particular was in an awkward location behind the compressor, so he started with that one first. Having completed the brazing operation, it was time to move on to the next phase of the job…
Oil Change during Industrial Chiller Repair Service
The correct grade of refrigeration oil, suitable for that compressor and the application had been sourced prior to the job. Our engineer then used his specialist equipment to charge the compressor sumps to the required level.
Pressure Test
A nitrogen pressure test was the carried out which was witnessed at the start and at the end by the customer. The pressure test certificate was then completed which was filed in the customers’ F-gas register.
0161 237 3727
service@maximuschillers.com
Dehydration during Industrial Chiller Repair Service
Each of our mobile workshops carries a powerful 10cfm vacuum pump which speeded up the dehydration process.
Non Condensables
The vacuum pump also removed the non condensables: air and nitrogen which had got into the system during the compressor swap out.
Torr Gauge
A torr gauge was connected to the chiller at the appropriate location which read the last 40 Torr of the atmosphere.
Hoses
Hoses were then connected to the vacuum pump to start the dehydration process.
Deep Vacuum
A vacuum of 2 Torr was achieved which ensured that the moisture in the system was removed along with the non condensables.
Refrigerant Recharge
The refrigerant used for this particular chiller was R410a. This was then charged into the system according to standard industry guidelines.
Testing during Industrial Chiller Repair Service
There was sufficient load available for the test run of the chiller. This was because this system had been shut down during the service visit, which had caused the other system to compensate by loading up.
Superheat and Subcooling
Test equipment was fitted to the chiller and the superheat and subcooling values were taken. There was a high superheat value at first, so more refrigerant was charged into the system until standard industry guidelines were achieved.
Oil Return and Compressor Temperatures
Good oil return was recorded and the various temperatures were taken around the compressor. All readings were found to be nominal and the chiller went back into seamless operation.
Related Articles:
Scroll Chiller Compressor Maintenance
Hit the Tags below to navigate your way to our extensive library of further reading on this subject.
Read more about Oxy-Acetylene Torch Flame Brazing at School Work Helper.

